
I have been a user of Plex Media Server for the past 3 years and I haven’t looked back since. For those looking to get into hosting your own content at home, there is no better place to get started. Creating your own home media server is easy, fun, and a great learning exercise.
What You Need
- A computer to act as our server
- Hard drives for storage. Internal or USB is fine.
- A Flash Drive
If you are familiar with Plex, you can skip down below where we get started with the install. If you are new to home media servers, take a chance to see quickly why we are choosing Plex.
What is Plex?
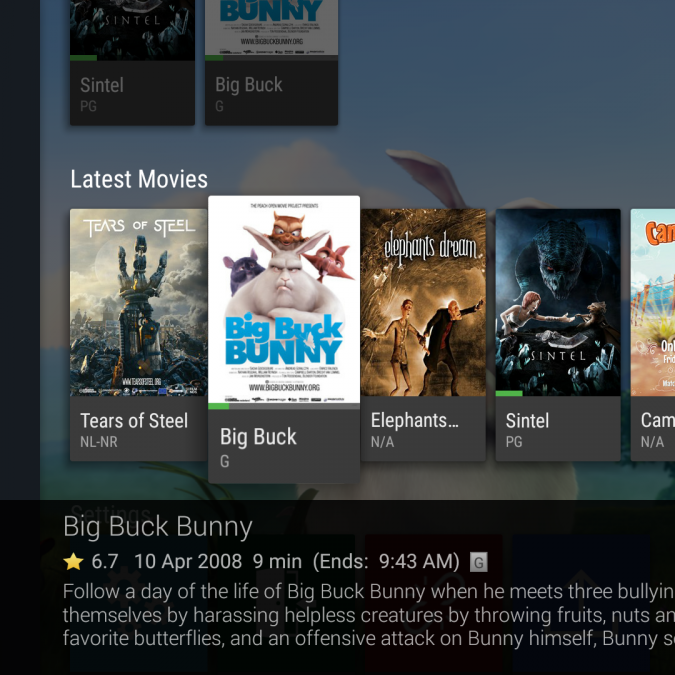
Plex is not Netflix, but it’s pretty darn similar. Plex Media Server is a media organization and streaming server software you can install on any operating system. This incredibly easy to use software allows you to simply connect hard drives full of movies, tv shows, and music and then organize and display it in your web browser or from an app anywhere, including smart TVs. You can even share your content with as many people as you like, assuming your home server and bandwidth can handle it.
Why Plex?
There are a lot of alternative streaming servers out there you could choose besides Plex, you may even prefer them but I have found Plex to be the best overall, with the most features. You do need to spend $5 to access the Plex mobile app if you intend to watch from your phone or tablet (Unless you have Plex Pass), and Plex is not open-source.
Plex offers quite a bit out of the box completely for free and it continuously gets better over time, with many of the features that once required “Plex Pass” eventually making their way into the free version. I would make the argument that the premium version of Plex, Plex Pass, is generally not needed by the large majority of users.
But for the sake of argument and awareness, let’s take a quick look at Plex some modern alternatives you may want to consider.
Plex Alternatives
1. Emby
The biggest competitor to Plex is also open source. Emby also has its own premium subscription that is on par price-wise as Plex. Though, some of the features such as access to podcasts or the ability to stream to a TV, are features that are free on Plex already.
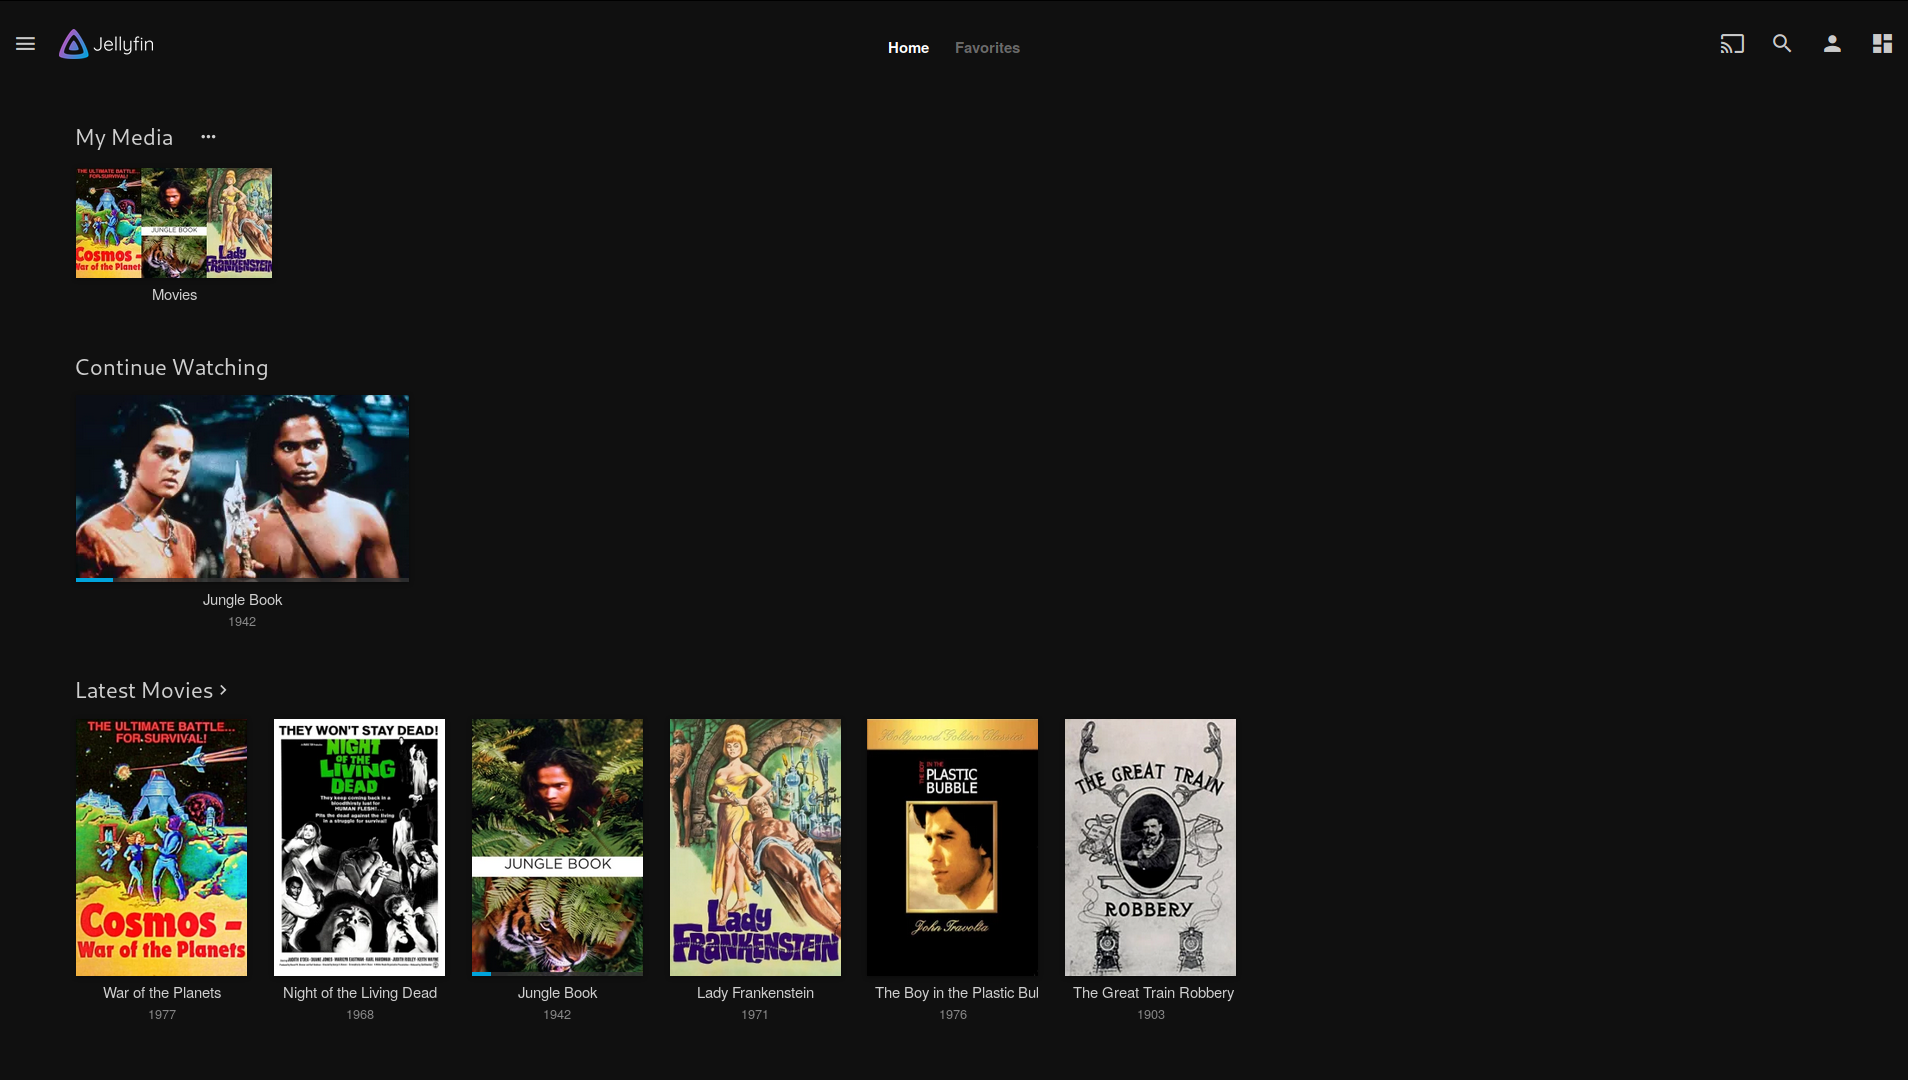
2. Jellyfin
Being that Emby was one fully open source, some developers created a fork of Emby some time ago to include the premium features that were previously locked behind Emby’s premium service🤷♂️. Development is still active on this project and it offers features that the free versions of Emby and Plex do not offer, such as Live TV DVR. However, Jellyfin as well as Emby (which Jellyfin is based on) share a lot of common complaints with bugs in the app to plain sluggishness. Jellyfin is something I plan on testing soon however, and maybe you should too!
These are truly the only competition in existence. Some may try to honorable mention Kodi, but Kodi is not a media server. Kodi is a media center, just not a media server. Kodi works well to display local media but was not designed to allow you to watch that media anywhere. This might be ok for your living room couch, but you are going to go through the trouble anyway, why not get the ability to stream?
Setting up your home media server
As mentioned in the title we are going to be using Docker as well as Docker compose on a Linux based server environment. This will allow us to run not only Plex, but most any software we want in an easily managed and scriptable environment. I will be using Ubuntu 18.04 as my base OS, you can use any OS you want although this tutorial will focus on Debian based OS.
1. Install the Operating System
Begin by installing your selected Linux OS to the machine. You can use a utility like Etcher to burn the ISO file to a flash drive as bootable media.
From there, once the Flash drive is loaded with Linux, load it into the server computer and boot while smashing the F8 key. The BIOS interrupt is often F8 but may be different for your machine. Check the BIOS splash screen for on-screen directions to find the key you need to hit.
Install your operating system to the correct drive. You should ideally have a separate storage device from your media content for the OS. In the video above we use a Solid State drive as our OS. You could even keep the OS on the flash drive if you have to, though this may affect performance.
2. Install Docker
For our Ubuntu installation for Docker Community Edition, we can follow the official Docker documentation for installing DockerCE. You can also follow along with our recording below, check it out you can actually copy and paste the commands from the video!
3. Install Docker-Compose
No video required, only a single line command is needed to install Docker-Compose.
sudo curl -L "https://github.com/docker/compose/releases/download/1.29.2/docker-compose-$(uname -s)-$(uname -m)" -o /usr/local/bin/docker-composeAnd, just to be sure we have the proper executable permissions, we’ll explicitly set them.
sudo chmod +x /usr/local/bin/docker-compose5. How to mount your media drives
Where do you plan on keeping all those TV shows and movies? Not on the same drive as your operating system I hope?
We cover this well in our video above. To get started check for the drive you want to mount by using the df utility and the -h human-readable flag.
df -h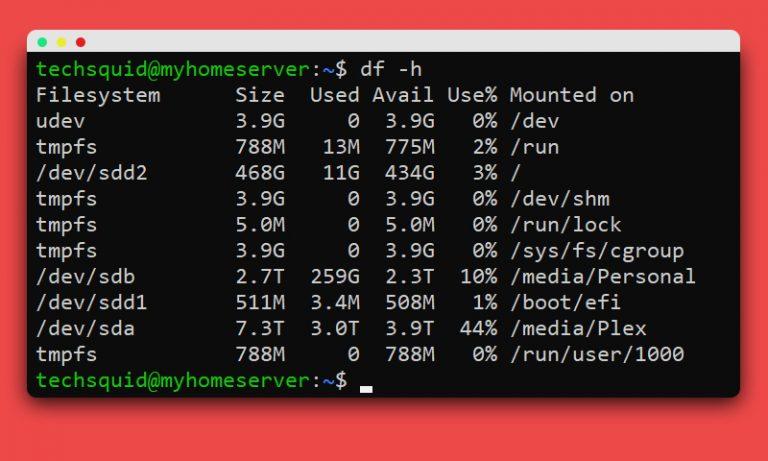
You can find your drive usually by the size given you don’t have two new similarly sized drives. You can see on the right if it is already mounted to a directory.
If not, you’ll need to create a directory and mount the drive to that directory.
1. Create a directory where you will access the data.
4. Write your Docker-Compose.yml file
We’ve already made a video and a blog post about the specifics of Docker-Compose if you are looking for an in-depth Docker-Compose tutorial.
However in this tutorial, we will only need the example already given to us by the docs for the Plex Docker image we are going to be using.
We will be using linuxserver/plex created by the fine people at linuxserver.io. The Docker image docs can be found on its DockerHub page here: docker.com/r/linuxserver/plex/
Plex Docker-compose.yml:
Everything is good to go here as-is, except for the volumes (and possibly the PUID and PGID). The volumes you want to change the paths to the hard drives you have mounted.
The PUID and PGID settings allow you to change what user the container runs on under your system. The default is root. This might be an issue for some with more complex Docker setups but you should be fine here. If you run into issues you can find your user’s values by just running the id command as that user.
Once finished, save this file to docker-compose.yml in a convenient location on your server.
Start Plex!
You’re ready to rock with your own media server. It’s time to flip the switch. Run the following command in the same directory as your newly created docker-compose.yml file.
docker-compose up -dThis will start your Docker compose script as a detached daemon, meaning it will be safe for you to close the terminal when you are done and Plex will continue to run.
Once the Plex server is running you can continue the easy setup via the browser at:
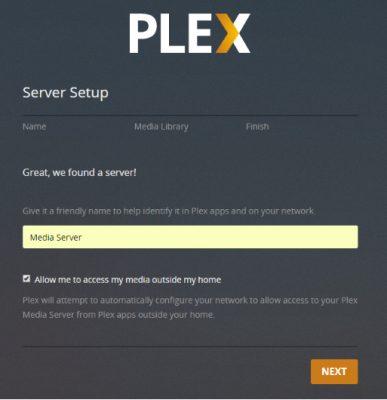
<your server ip>:32400/webPlex will bring you through a few simple walkthrough steps to sign you into your account on plex.tv and add your media libraries.
The setup wizard is fairly simple but you can follow Plex’s guide here for more pictures.
Now sit back and relax.
Once your Plex server is up and running you just need to fill up your drives with content. How you do that is up to you but however you do it, it’s probably illegal in one way or another.